Call Anytime
USA Visa Application

23
October 2024
USA Visa Application
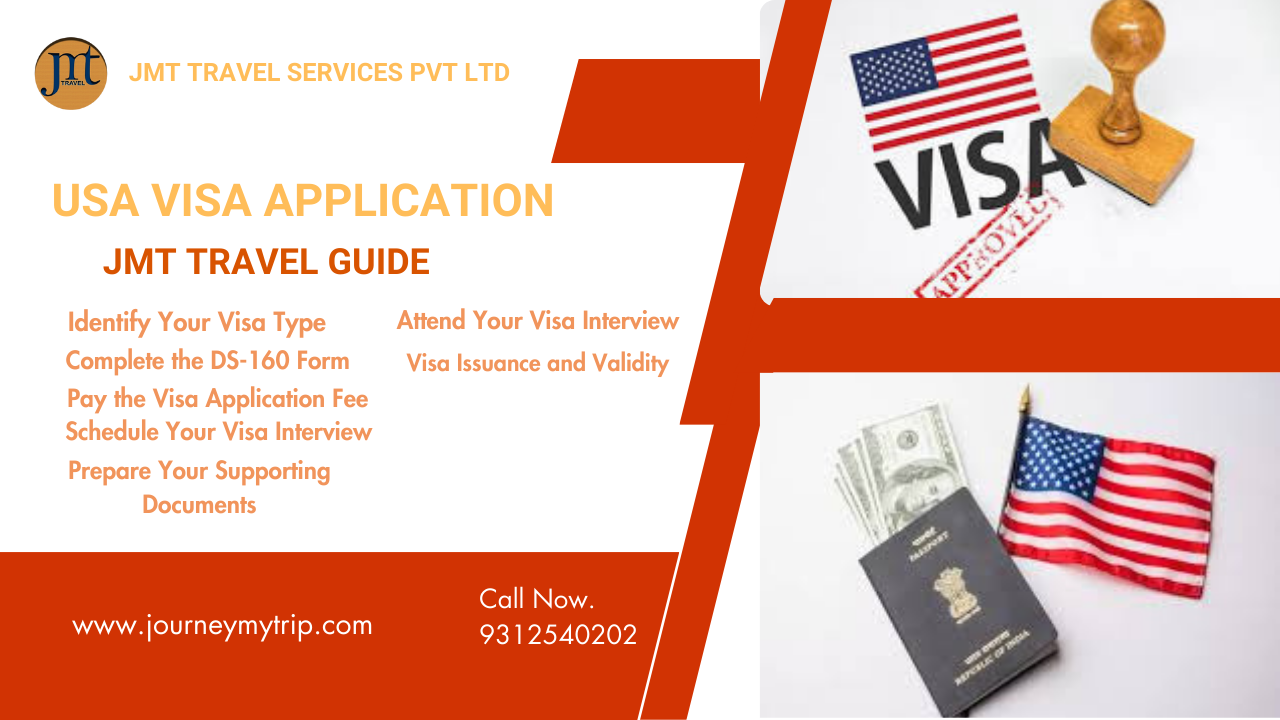
USA Visa Application: A Traveler’s Guide from JMT Travel
Planning a trip to the United States? Whether for business, tourism, or visiting family, obtaining a USA visa is one of the key steps for travelers from countries that are not part of the Visa Waiver Program. The visa application process may seem intimidating, but with proper planning and guidance, it can be simplified. This guide will walk you through the essential steps for a successful U.S. visa application, focusing primarily on the B1/B2 nonimmigrant visas for business and tourism.
1. Identify Your Visa Type
Before diving into the application process, it is critical to understand which type of visa you need. The most common visa categories for short-term visits are the B1 (business) and B2 (tourism) visas. The B1 visa covers business activities like attending conferences, negotiating contracts, or meeting with business associates, while the B2 visa is used for tourism, vacations, visiting family, and obtaining medical treatment.
Understanding your visa type ensures that you select the correct category on the application and avoid unnecessary complications later. For those coming for both business and pleasure, a combined B1/B2 visa might be appropriate
2. Complete the DS-160 Form
The DS-160 is the primary application form for all U.S. nonimmigrant visas. This form must be completed online, and it gathers key information about your travel plans, personal history, and any prior visits to the United States.
To successfully complete the DS-160:
- Visit the Consular Electronic Application Center (CEAC) website.
- Have your passport and other travel information handy.
- Ensure that all details provided are accurate and consistent with your documents, as discrepancies can lead to delays or rejections.
Once the form is submitted, you will receive a DS-160 confirmation page, which you must bring to your visa interview. Save a copy of the confirmation for your records as well
3. Pay the Visa Application Fee
The visa application process includes a non-refundable fee. For a B1/B2 visa to the United States is $185 as of 2024 .
This fee must be paid before scheduling your visa interview. Payment can be made through various methods, such as bank transfers or credit cards, depending on the location of the U.S. consulate or embassy in your country
Once the payment is complete, retain your receipt, as it will be needed to schedule your visa appointment.
4. Schedule Your Visa Interview
After submitting your DS-160 form and paying the visa fee, the next step is to schedule your interview at the U.S. embassy or consulate closest to you. During peak travel seasons, visa appointment availability can be limited, so it is advisable to schedule your interview as early as possible.
To book your appointment, you will need:
- Your passport copy.
- The CGI reference number from your visa fee receipt.
- The DS-160 confirmation number
During the interview, a U.S. consular officer will ask you questions about your travel plans, employment, financial stability, and your intent to return to your home country after your trip. Answer honestly and confidently, and bring all necessary documentation to support your case.
5. Prepare Your Supporting Documents
To ensure your visa interview goes smoothly, prepare the following documents:
- Valid passport: Ensure your passport is valid for at least six months beyond your intended stay in the U.S.
- DS-160 confirmation page: Proof of your online application submission.
- Visa fee receipt: Evidence that you have paid the application fee.
- Visa appointment confirmation: The date and time of your scheduled interview.
- Proof of travel purpose: This could include a letter of invitation from a business associate, hotel bookings, or a detailed itinerary.
- Financial documents: Bank statements or salary slips to demonstrate that you can financially support yourself during your stay.
- Proof of strong ties to your home country: Documents like property ownership, employment contracts, or family ties to show that you intend to return after your visit
6. Attend Your Visa Interview
Arrive at the embassy or consulate early for your scheduled appointment. Be prepared to present all necessary documents, including your passport, DS-160 confirmation, and supporting materials.
During the interview, the officer will ask questions to assess your eligibility for the visa. Key questions may focus on:
- Purpose of travel: Why are you traveling to the U.S.?
- Length of stay: How long do you intend to stay in the U.S.?
- Employment and financial status: Are you employed, and do you have sufficient funds for your trip?
- Ties to your home country: Do you have reasons to return, such as family or a job?
Depending on the outcome of the interview, the consular officer may approve or deny the visa. If approved, your passport will be returned with the visa stamp within a few days to weeks, depending on the processing time
7. Visa Issuance and Validity
A B1/B2 visa typically grants a multiple-entry privilege for up to 10 years, but the exact validity period will depend on your nationality and the discretion of the consular officer. Upon entry to the U.S., the final decision on your length of stay is made by the Customs and Border Protection (CBP) officer at the port of entry.
It’s important to remember that the visa itself doesn’t guarantee entry into the U.S.; it only allows you to travel to a port of entry. The CBP officer will verify your documents and determine how long you can stay, typically up to 6 months for a B1/B2 visa
Conclusion
Applying for a U.S. visa can seem daunting, but by following these steps, you can streamline the process. From understanding which visa type suits your needs to ensuring you have all the required documents, preparation is key. For more detailed assistance, consult the U.S. Visa Information and Appointment Services website or contact JMT Travel for personalized guidance on your visa application.
Happy travels, and good luck with your U.S. visa application!

